Customizing the Tree Tab Editing Panel in FTM 2017 for Windows
How do I customize the Tree tab editing panel in Family Tree Maker 2017?
- Click the People button on the main toolbar.
- Click the Tree tab. The editing panel contains the default fields.
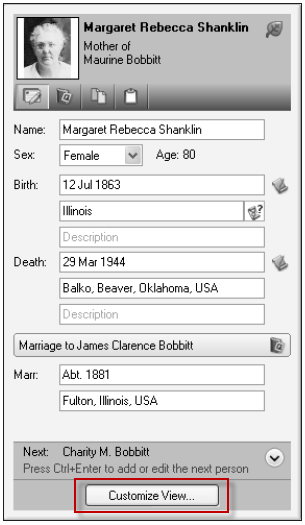
- In the editing panel, click Customize View. The Customize View window opens.
- In the Individual facts section or the Shared facts section, click on the fact you’d like to add to the panel; then click the right arrow button to add the fact to the Selected facts sections.
- To change the order in which the fields will display on the panel, click a fact in the Selected facts section and click the up and down arrows on the right side of the window.
- Click OK. The editing panel now includes the new fields.